

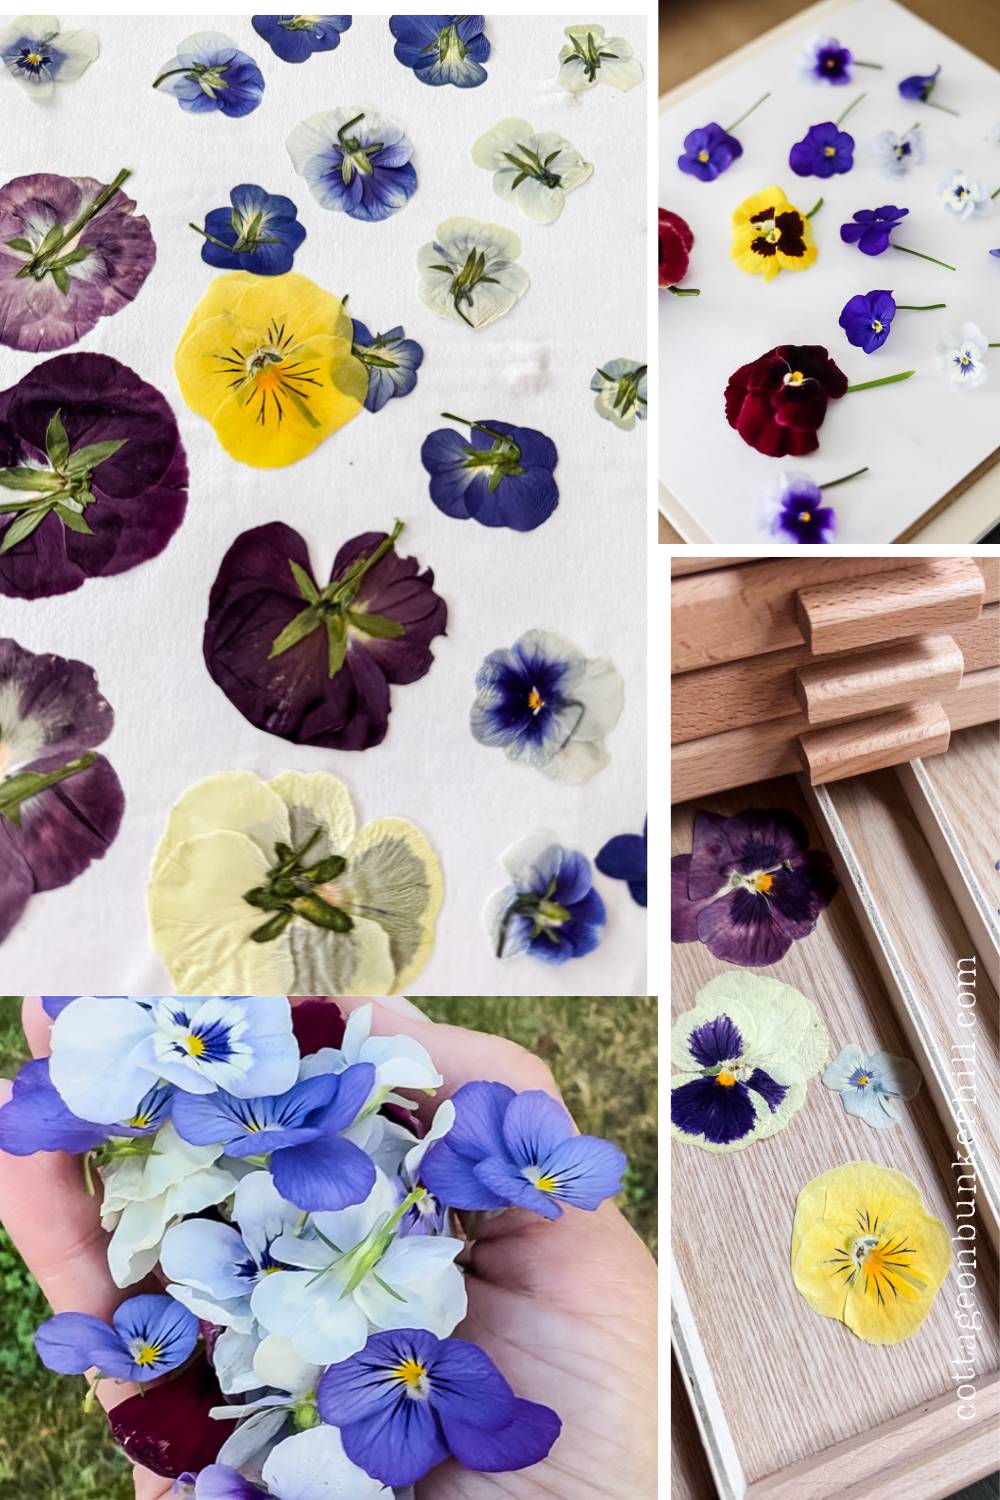
Have you ever wanted to preserve the beauty of your garden blooms or a special bouquet? Pressing flowers is a wonderful hobby to pick up to do just that. Whether it’s a flower from a wedding bouquet, a pansy from your spring garden, or wildflowers you picked on a walk, pressed blooms hold memories and add a touch of elegance to DIY projects.
Pressed flowers are simply blooms dried under pressure to flatten and preserve their colors and shapes. For centuries, people have used them in botanical art, handmade stationery, home decor, and sentimental keepsakes. Today, they’re more popular than ever, being used in everything from resin jewelry to framed wall art (like some of my own projects you’ve seen here on the blog!).
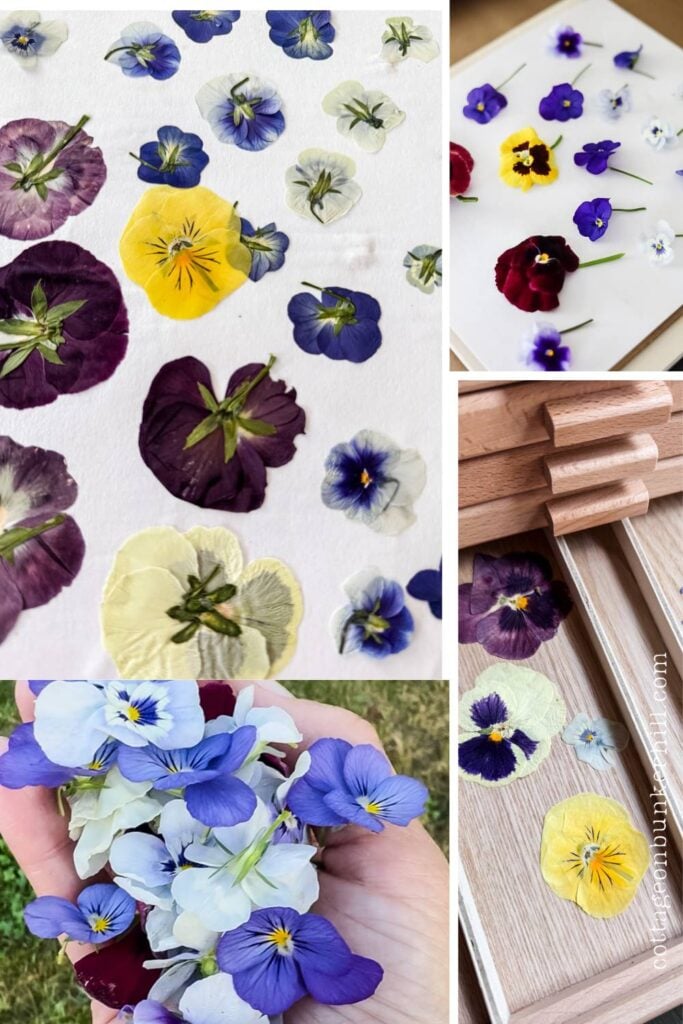
Today I’ll go over four easy methods to press flowers flawlessly, even if you’re a complete beginner. From there, you can decide which one will work best for you.
This post may contain affiliate links, which means we receive a small commission if you purchase through our links. See our disclaimer page for more information.
Choosing the Best Flowers for Pressing
Not all flowers press equally well; some hold their color and shape beautifully, while others may wilt or turn brown. To get the best results, start with the right blooms! Here’s what to look for:
Flat & Thin Blooms – Naturally flatter flowers press smoothly with minimal effort.

- Pansies
- Violets
- Daisies
- Buttercups
Delicate & Airy Flowers – Lightweight blooms dry quickly and retain their intricate details.

- Baby’s breath
- Queen Anne’s lace
- Cosmos
- Larkspur
Leaves & Ferns – Add texture and greenery to your pressed designs.

- Maidenhair fern
- Ivy leaves
- Eucalyptus
- Herbs (like lavender or mint)
What You’ll Need to Press Flowers
Before you begin, gather these basic supplies (some you likely already have at home!):
Essential Supplies:
- Fresh flowers (as covered in the previous section, be sure to choose thin, dry blooms at their peak)
- Weight or press to flatten flowers:
- Heavy books (encyclopedias, hardcovers)
- A traditional flower press (wooden with straps or screws)
Optional Tools for Faster Methods:
- For microwave pressing:
- microwave flower press (I have this one)
- or 2 microwave-safe ceramic plates
- Paper towels (to layer flowers between)
- For iron pressing:
- Iron (set to low heat, no steam)
- Parchment paper (to protect petals)
Pro Tip: Always ensure your flowers are completely dry, free of dew or rain, before pressing. Even a little moisture can lead to mold or uneven drying


4 Common Ways to Press Flowers
Let me explain the 4 popular ways to press flowers that you can do at home to preserve your own blooms to use for projects.
1. The Flower Press Method (Traditional & Reliable)
Best for: Long-lasting, professional-quality pressed flowers
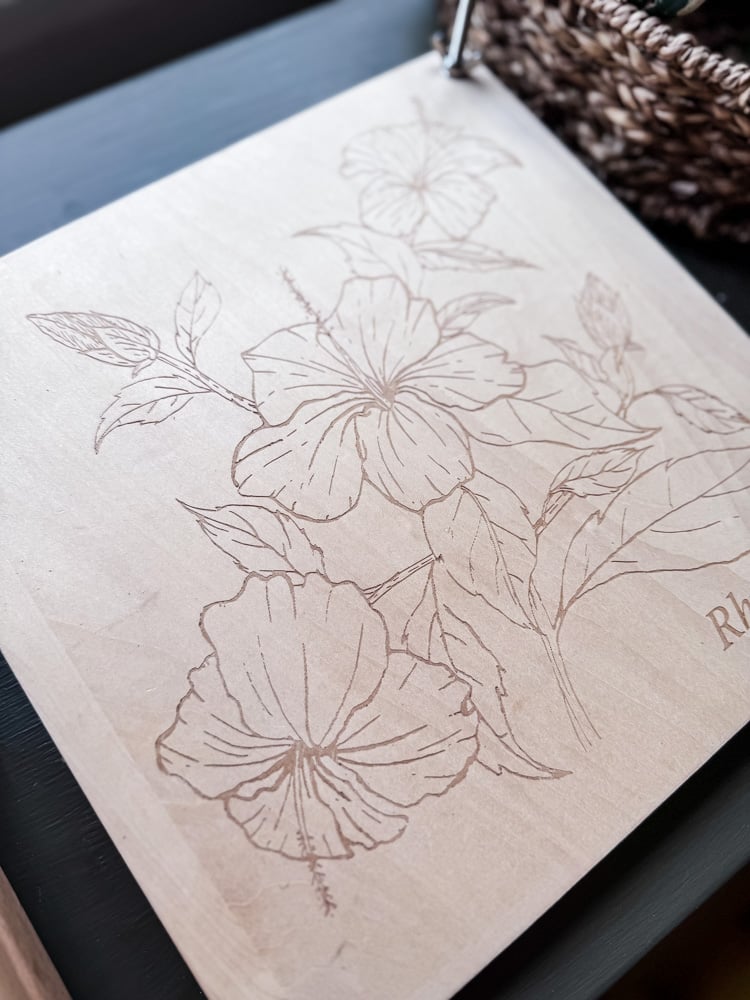
If you’re serious about pressing flowers, a dedicated flower press is a game-changer. They are affordable too; my large one was $22. Here’s why this classic tool deserves a spot in your crafting arsenal:
- Perfectly Even Pressure – The adjustable screws or straps distribute pressure uniformly, preventing wrinkles and ensuring flawlessly flat blooms.
- Faster Than Books – While not as quick as microwaving, flowers typically dry in 1–2 weeks (versus 3–4 weeks in books).
- Built to Last – Unlike books that absorb moisture and warp, presses are reusable and won’t stain or damage your botanicals.
- Handles Variety – From delicate petals (like violets) to sturdy leaves (like eucalyptus), a press accommodates diverse shapes and thicknesses.
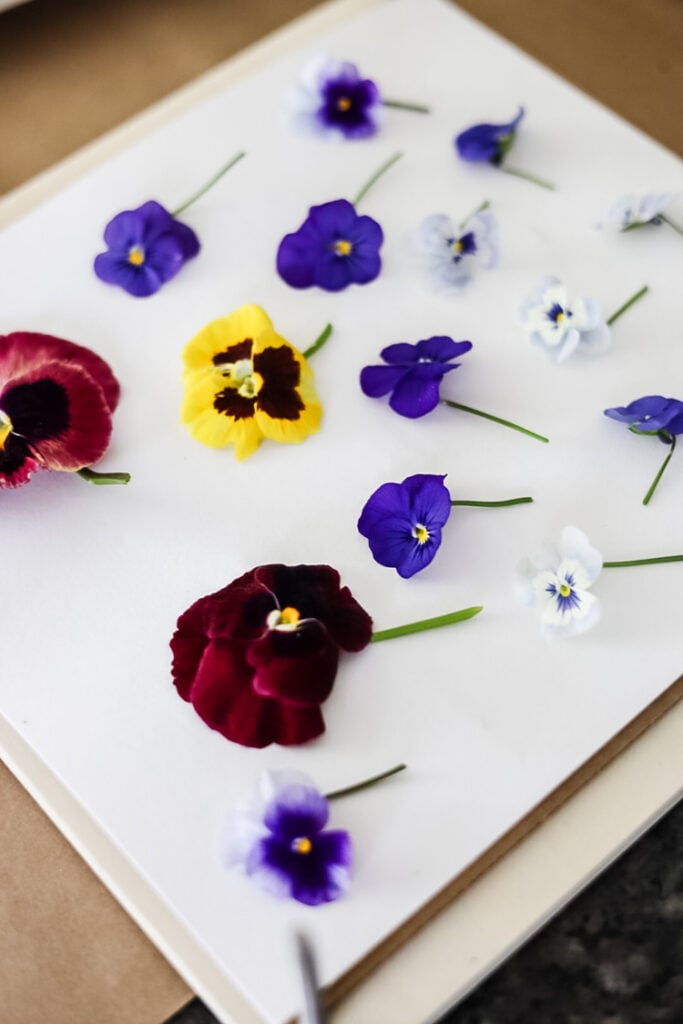
I’ve got a full walkthrough including exactly how to layer everything and how long to wait before you peek in my beginner’s guide to using a flower press.
Did You Know? The flower press method is how botanical gardens preserve specimens for their herbariums! For heirloom-quality results, nothing beats this traditional technique.
Microwave Flower Pressing: Instant Blooms in Minutes!
When you need pressed flowers fast (for last-minute crafts or impatient little helpers!), your microwave becomes a secret weapon. Here’s how to harness this speedy method safely:

Why Microwave Magic Works:
- Blazing Speed: Dries flowers in minutes vs. weeks
- Color Lock: Preserves vibrant hues better than some traditional methods
- Small Batch Perfect: Ideal when you just need a few perfect petals for a project
What You’ll Need:
- Microwave Flower Press
- DIY Method:
- Microwave-safe plates (ceramic works best)
- Paper towels
- Fresh, dry flowers
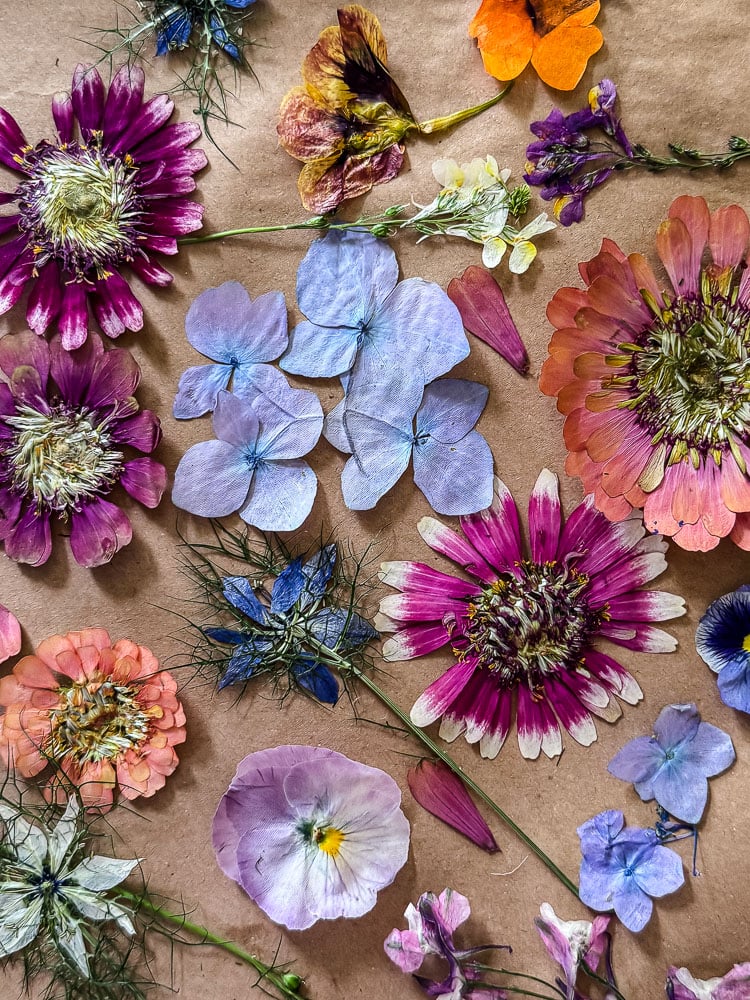
One thing I’ve noticed: microwaved flowers tend to hold onto their color better than ones from a traditional press. The tradeoff is attention; you can’t just walk away like you can with a press. You’re checking in every 30 seconds or so while they ‘cook,’ so it’s more hands-on even though it’s faster overall.
Read more about microwave pressed flowers.
The Classic Book Pressing Method: Slow & Steady Beauty
There’s something wonderfully nostalgic about pressing flowers between the pages of a book—no fancy tools required, just patience and the quiet magic of time. This method is perfect for casual crafters who don’t mind waiting for nature to work its charm.
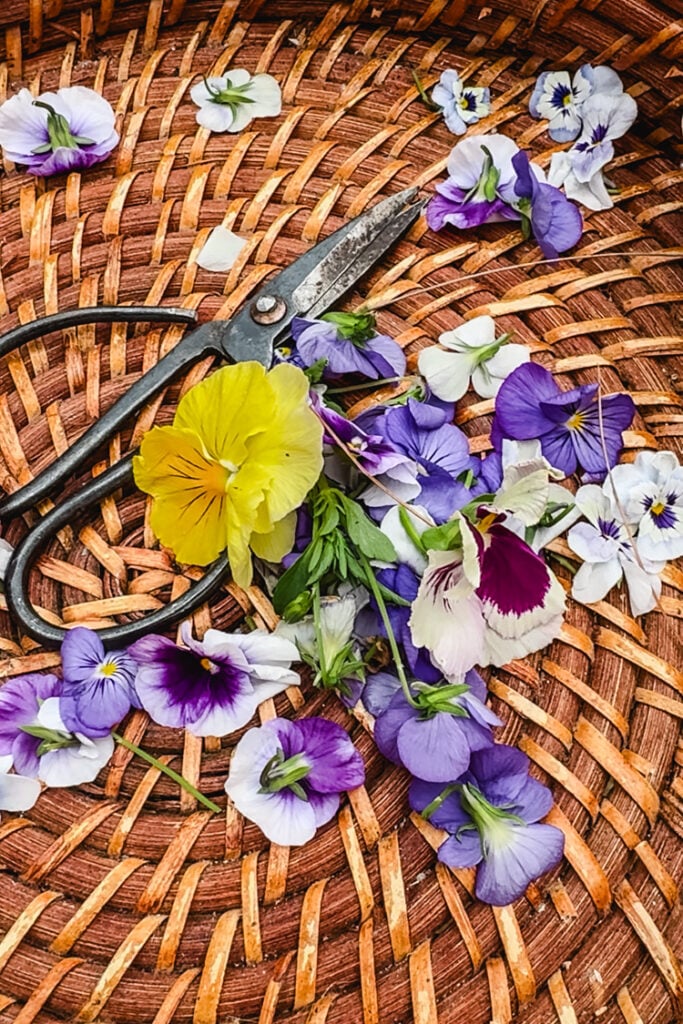
Why Use the Book Method?
- No Special Equipment Needed – Just grab a heavy book and some paper!
- Gentle on Delicate Petals – The gradual pressure preserves fragile flowers beautifully.
- Teaches Patience – A lesson in slowing down and appreciating the process.
Best Flowers for Book Pressing:
- Flat blooms: Violets, pansies, daisies
- Delicate stems: Baby’s breath, Queen Anne’s lace
- Foliage: Ferns, ivy leaves, small herbs
Avoid thick or juicy flowers—they may mold before drying!)
How to Press Flowers in a Book – Step by Step

1. Prepare Your Blooms
- Pick flowers in the morning after dew has evaporated.
- Trim stems, leaving just the flower head if needed.
2. Choose Your Book
- Use a heavy, hardcover (we used to use phone books & encyclopedias!).
- Avoid sentimental books—moisture may warp pages!
3. Layer Properly
- Open the book to a middle page and place parchment paper or blotting paper inside. Coffee filters also work great for smaller flowers!
- Arrange flowers in a single layer, ensuring they don’t overlap.
- Add another sheet of paper, then close the book carefully.
4. Add Weight & Wait
- Stack more books on top for extra pressure.
- Store in a dry, warm place (like a closet or shelf).
- Check after 2 weeks—if petals still feel damp, replace the paper and wait longer.
The Ironing Method: Pressed Flowers in Minutes
Want pressed flowers fast without a microwave? An iron lets you preserve blooms in just minutes—perfect for last-minute crafts or impatient crafters!
Why Use the Ironing Method?
- Super Quick – Dries flowers in under 5 minutes
- Great for Small, Flat Flowers – Ideal for delicate petals and leaves
- No Special Tools Needed – Just an iron and parchment paper
Best Flowers for Ironing:
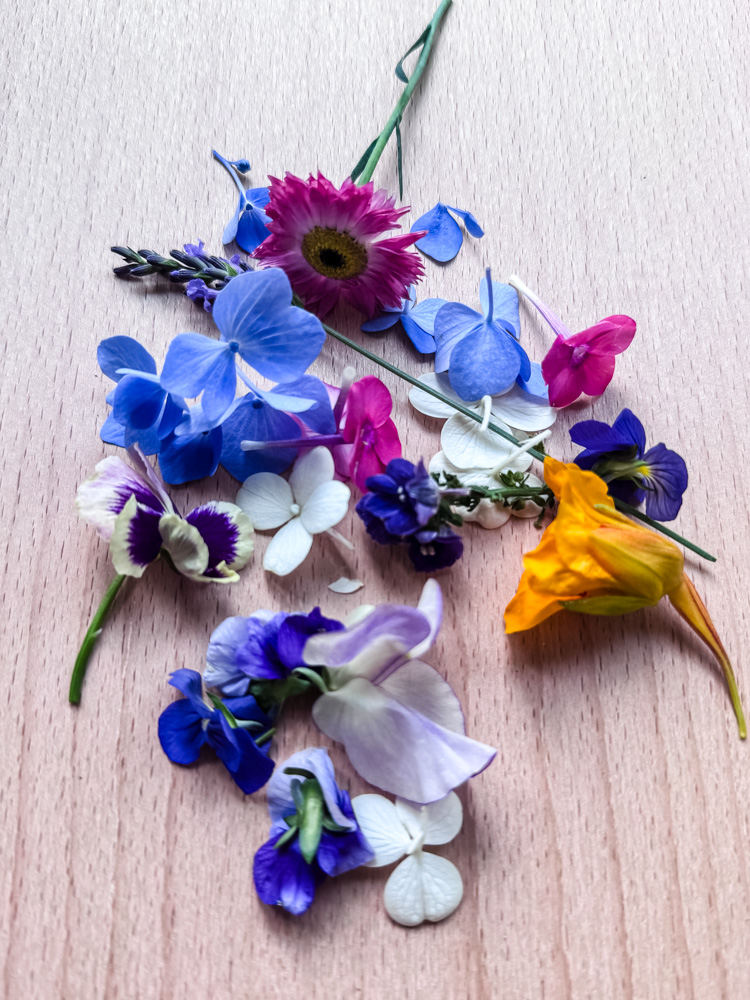
- Thin petals: think violets or pansies
- Delicate leaves: Ferns, herbs, small foliage
- Single rose petals or hydrangea blooms
How to Press Flowers with an Iron – Step by Step
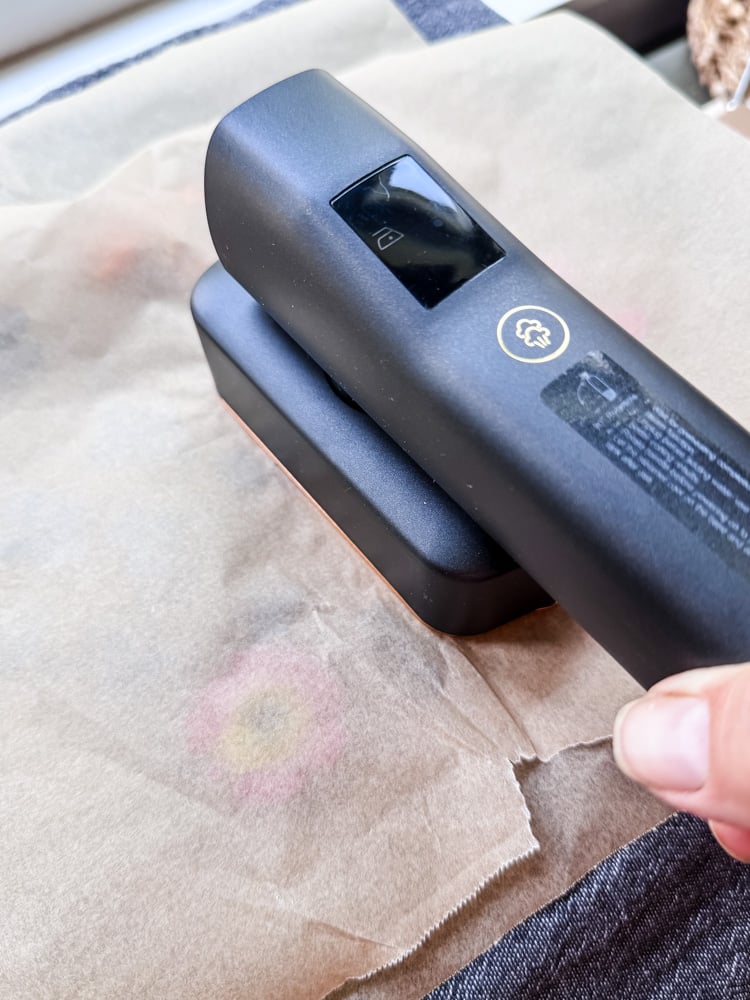
1. Prep Your Blooms
- Pick fresh, dry flowers (no dew or moisture).
- Trim stems and separate petals if needed.
2. Set Up Your Ironing Station
- Heat iron to LOW (no steam!)
- Lay a thin towel or parchment paper on the ironing board.
- Place flowers between two sheets of parchment paper.
3. Press with Care
- Gently press the warm iron over the paper for 10-15 seconds.
- Lift and check—if petals still feel damp, repeat in 5-second bursts.
- Let cool before peeling the paper away.
- As the flowers cool, they will dry out more
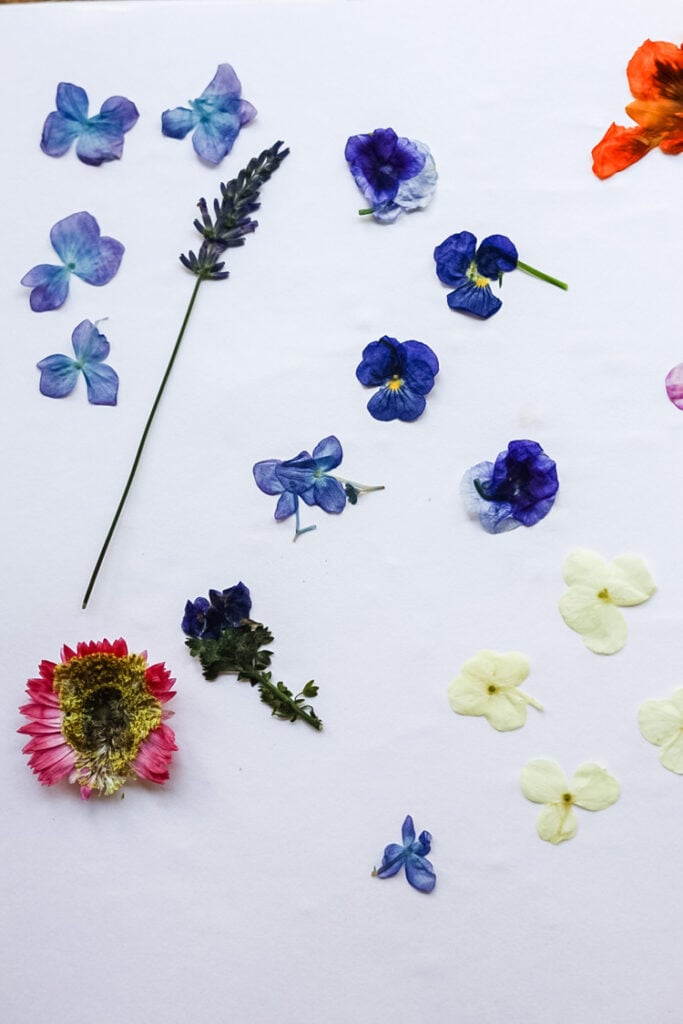
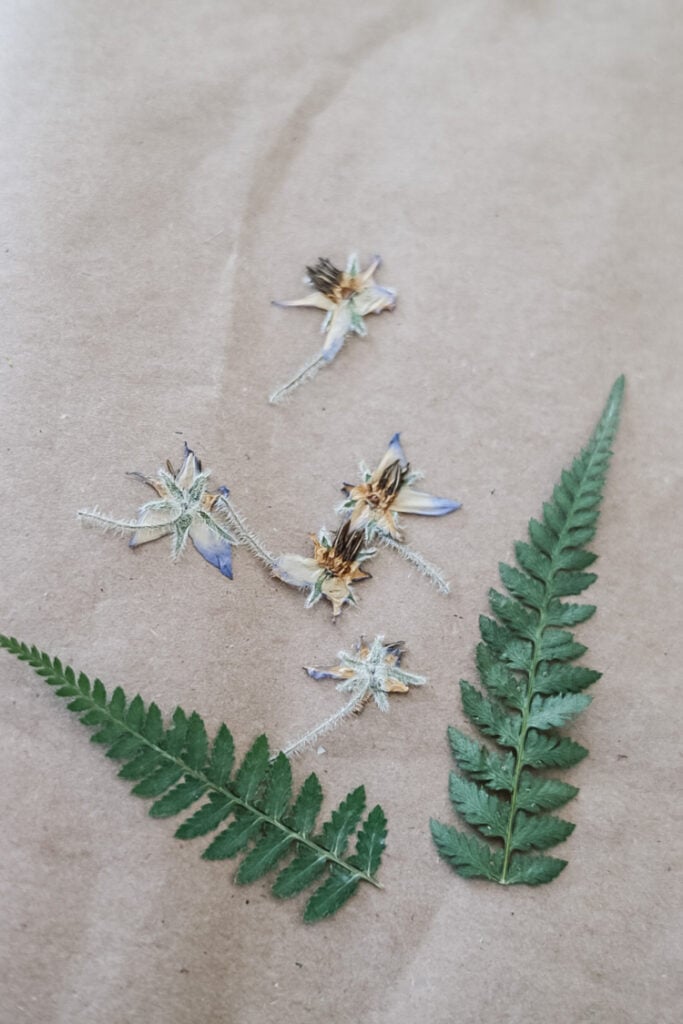
Let’s be honest, while the ironing method works, it’s my least favorite of the four pressing techniques. Why? Because it’s finicky, risky for delicate petals, and often yields inconsistent results. That said, it does have its uses when you’re in a pinch! Think of it as the microwave method’s messy younger sibling- gets the job done fast, but not elegantly.
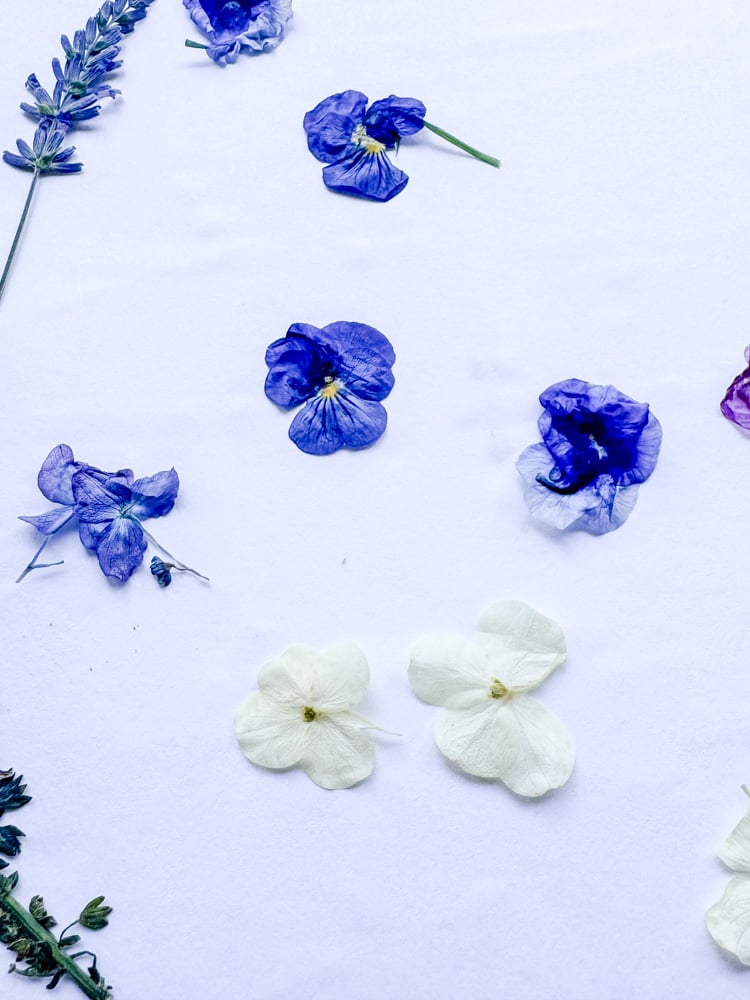
Note: I would suggest putting a heavy book on top of the parchment-covered blooms as they cool. In my testing, I found that the edges of the flowers curled a bit.
How to Store Pressed Flowers: Keep Them Pristine for Years
Pressed flowers are delicate, but with the right storage, they can last for years without fading or crumbling. Here’s how to protect your botanical treasures, whether you’re saving them for future projects or preserving sentimental blooms
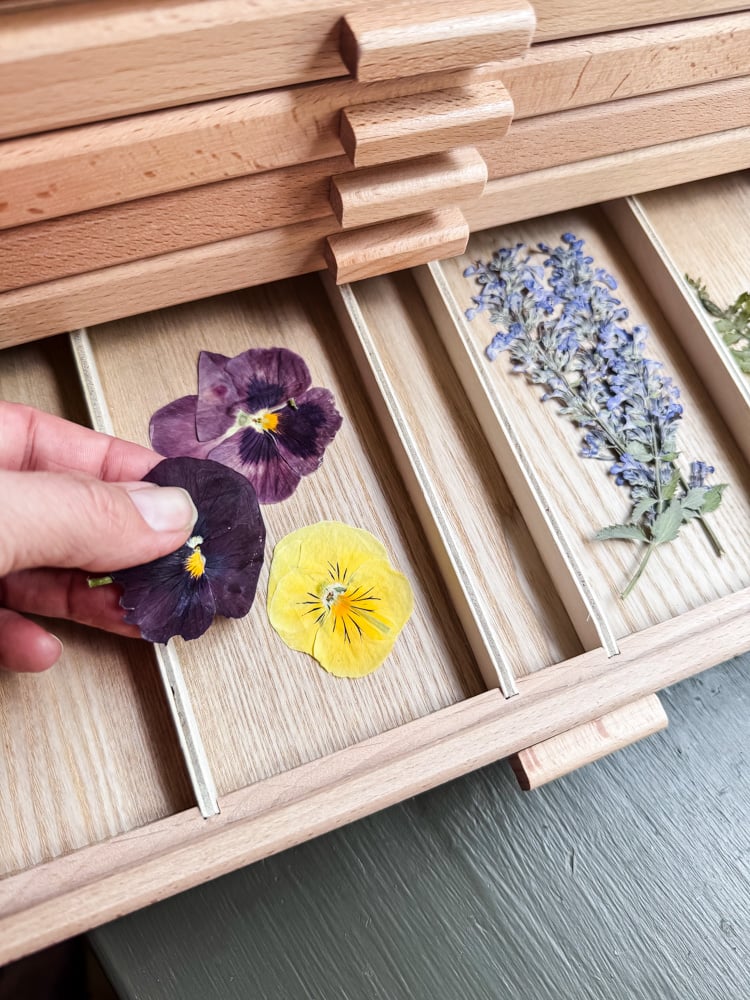
Stylish & Practical: Wood Artist Drawers
As my collection of pressed flowers grew, I realized I needed a smarter storage solution—one that would keep my delicate blooms organized and ready for crafting. After all, what good are gorgeous petals if you can’t find the perfect one when inspiration strikes? That’s why I invested in this beautiful wooden storage drawer. Now, when I’m working on new floral DIYs to share with you, I can easily see and access every blossom in my collection.
In an Airtight Container (For Long-Term Preservation)
- Use a sealable plastic sleeve, glass jar, or archival box.
- Add silica gel packets to absorb moisture.
- Bonus: For extra protection, layer flowers between acid-free tissue paper.
- Best for: Keeping flowers vibrant for 1+ years.
How to Store Pressed Flowers in a Plastic Box
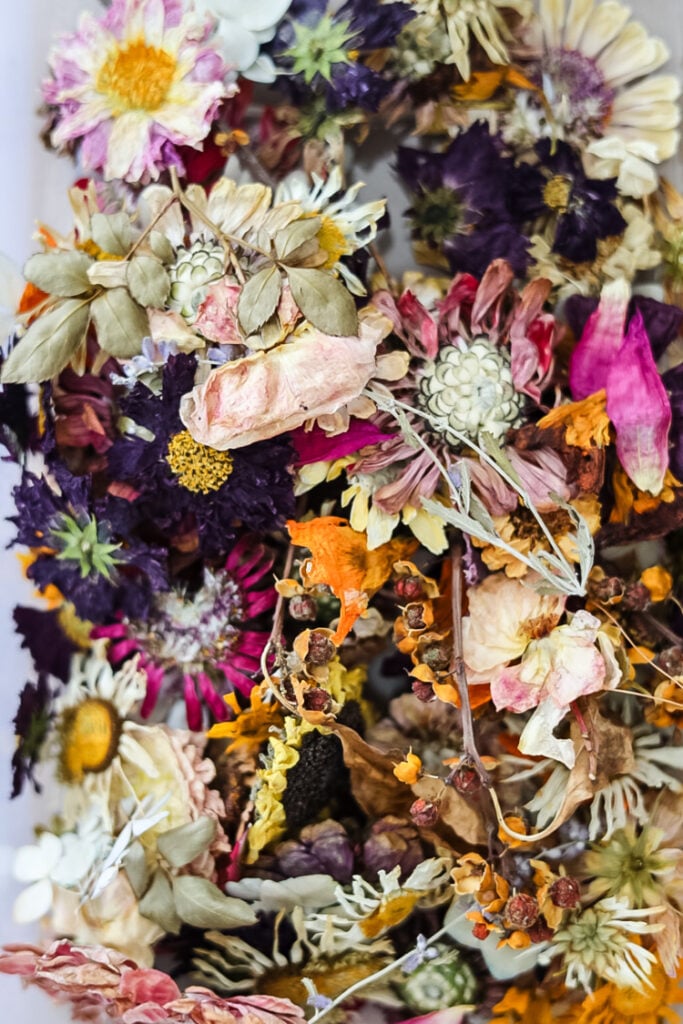
- Line the box with acid-free tissue paper or parchment paper
- Layer flowers flat between blotting paper/coffee filters if you aren’t using them right away (absorbs residual moisture).
- Add silica gel packets (2-3 per box) to combat humidity.
- Store in a dark place (like a closet), as light can fade colors over time.
Pressed Flower Projects: Beautiful Ways to Preserve Your Blooms

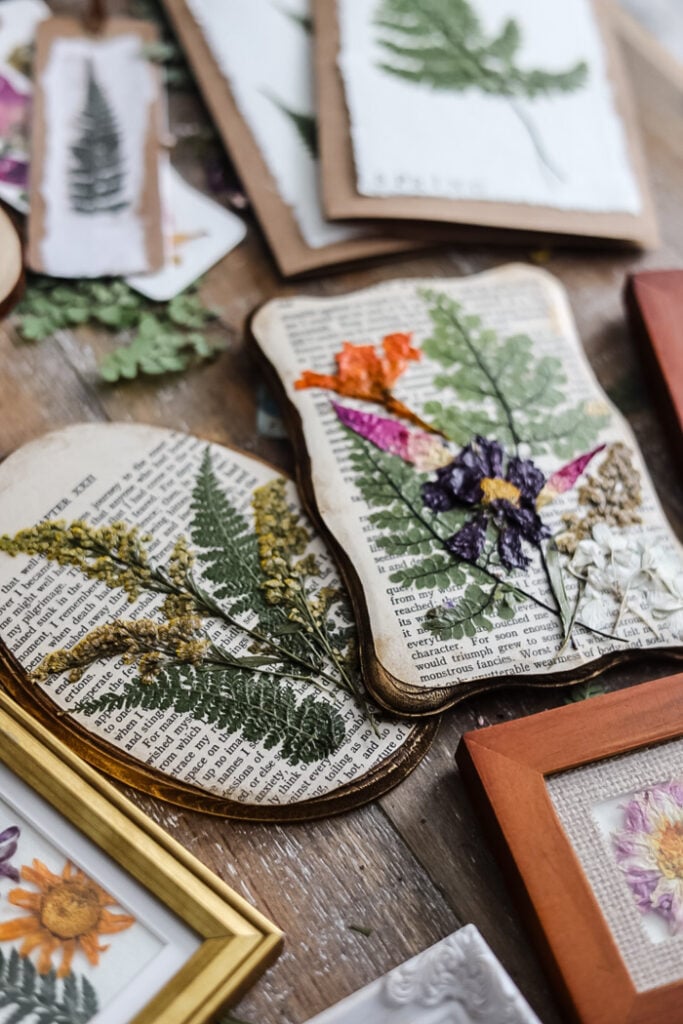
Now that you’ve mastered pressing flowers, let’s turn them into stunning keepsakes and gifts! Here are my favorite ways to showcase pressed botanicals—including some of my most-loved DIYs from the blog.
DIY Project For Pressed Flowers



Now You Have More Info To Choose!
Hopefully now you can pick what way you want to start your flower pressing journey! Since I am always working with flowers, my flower presses are always filled, and I also love the quickness of microwaving flowers.
A few final thoughts before you start:
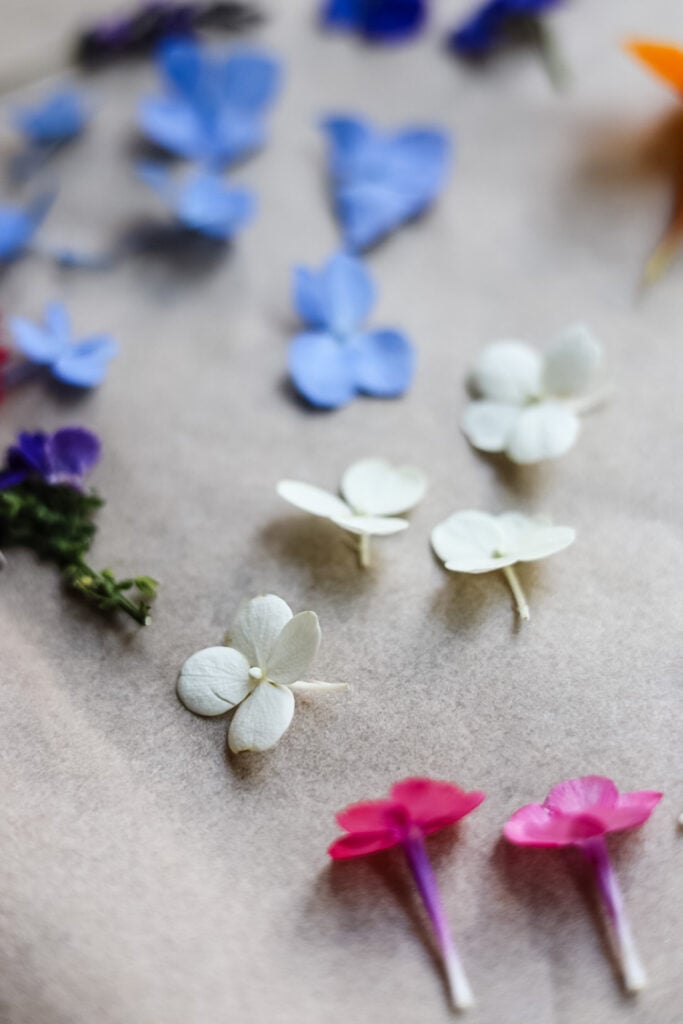
- Don’t stress perfection – slightly wrinkled petals have character!
- Label your pressed flowers with dates/locations if they’re sentimental
- Have fun experimenting – some of my favorite projects happened by accident
Now I’m curious – what will you press first? A cosmos from your backyard? Wildflowers from your favorite hiking trail? However you begin, I’d love to see your creations. Share them with our crafting community by sending in a photo of your pressed flowers & projects to be added to the Reader’s Spotlight.
xo, Jennifer
featured
pressed flower art
My top choices & supplies that I have used in my pressed flower tutorials
Fresh Flower Wreath Collection

Looking for more pretty ideas?See all of our wreath tutorials using fresh flowers & natural materials



I absolutely adore these – what a great little weekend project to do with the kids, especially as it’s the school holidays and I’m always looking for something fun/cheap to do! xxx
I’m so glad!